How to push a project from Android Studio to GitHub
Introduction
Before pushing your code to GitHub, ensure that you have git installed and SSH keys set up. You can check if git is installed by running
git --versionin the terminal.

Steps
Configure Git in Android Studio as follows:
This setup is for Linux. The steps may vary slightly for other operating systems. You only have to do this initial setup once.
- Open Android Studio.
- Go to
File>Settings>Version Control>Git. - Set the path to the Git executable.
Path to Git executablefor Linux is usually/usr/lib/git-core/git.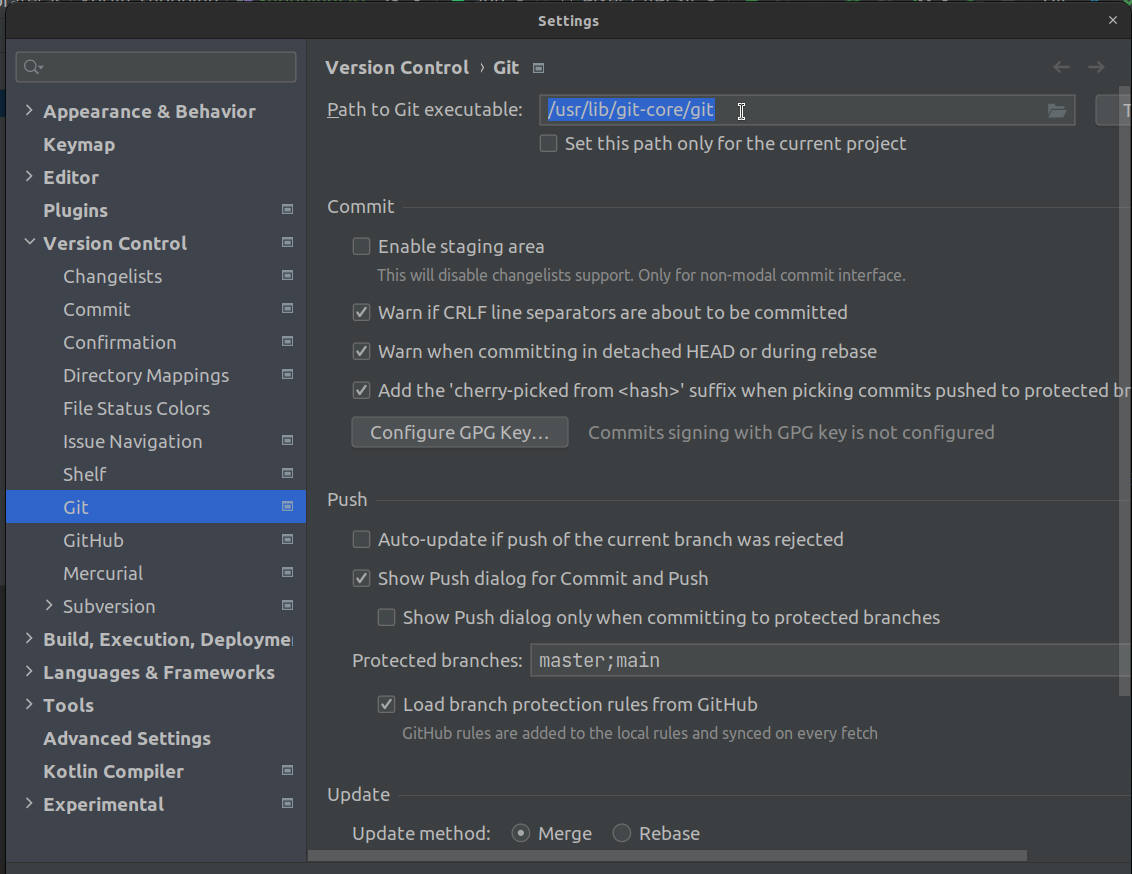
- Click
Testto verify the path. - Click
Applyand thenOK.
Create a repository on GitHub:
- Create a new repository on GitHub. Private or public, it’s up to you.
- Copy the repository URL. It should look like
git@github.com:username/repo-name.git.
Push your project to GitHub:
- Open your project in Android Studio.
- Go to
VCS>Enable Version Control Integration.
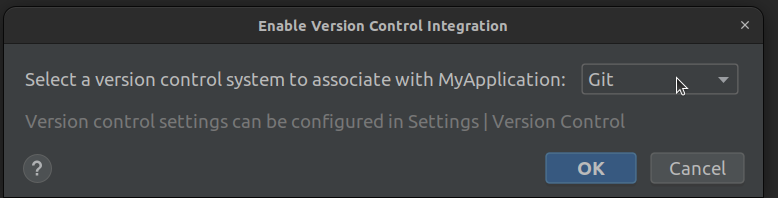
- Select
Gitfrom the dropdown and clickOK. - This will initialize a local Git repository in your project. In plain english, ALL OF YOUR FILES WILL TURN RED 😨
- On the far top left corner, click on the arrow beside
androidand selectProject.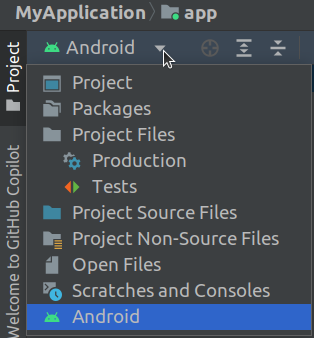
- Right-click on your project folder and select
Git>Add. All files should turn green. - Right-click on your project folder again and select
Git>Commit Directory. - In the
Commit Changesdialog, enter a commit message and clickCommit.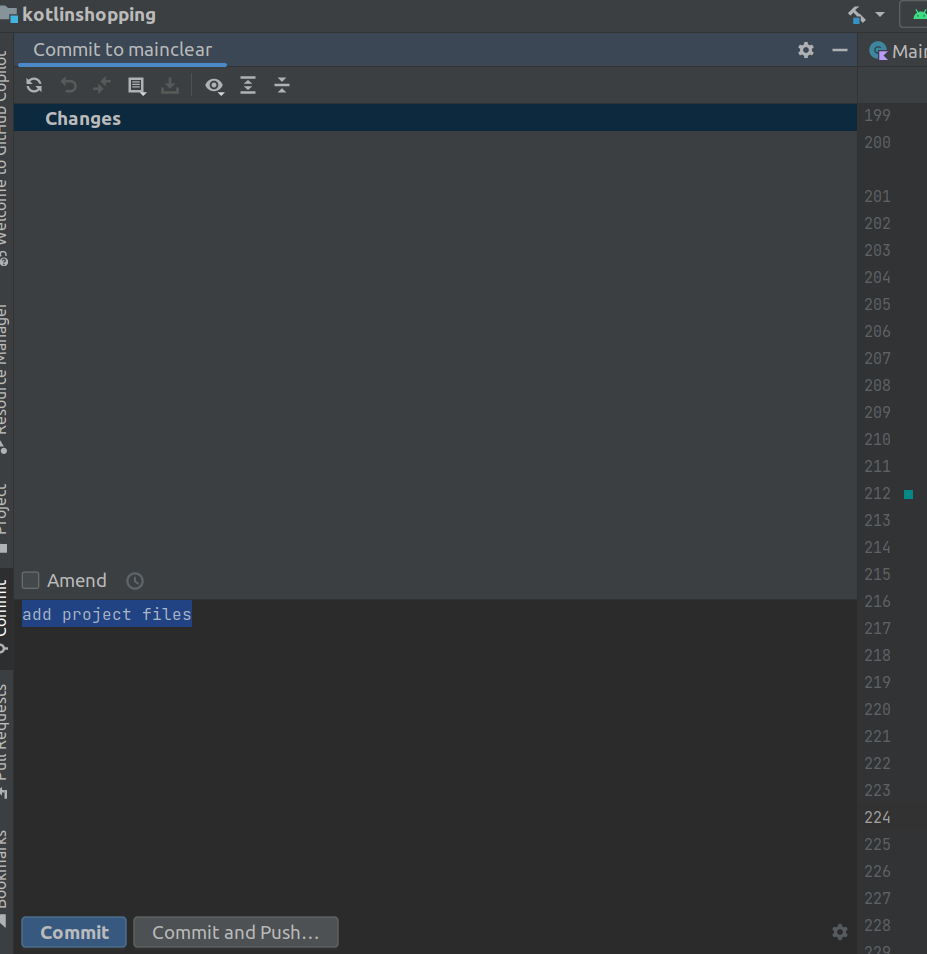
- On the top toolbar, click on the
Giticon and selectRepository>Push.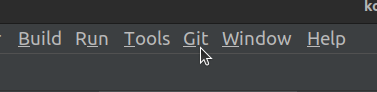
- In the window that pops up, click
Define remoteand paste the repository URL you copied earlier.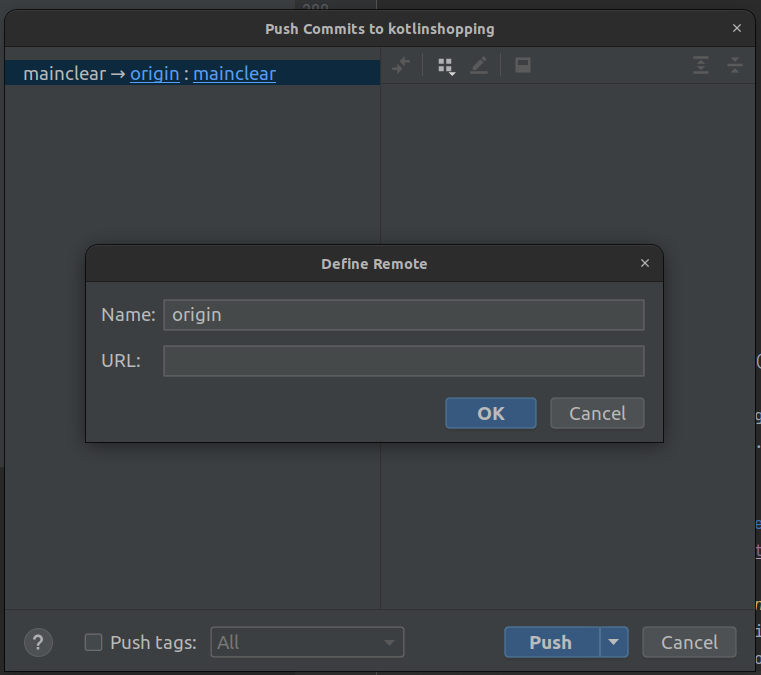
- Click
OKand thenPush.
Verify on GitHub:
- Go to your GitHub repository and refresh the page.
- You should see your project files there.
- Congratulations! You have successfully pushed your project to GitHub.
If you encounter any issues, feel free to ask for help.
This post is licensed under CC BY 4.0 by the author.